

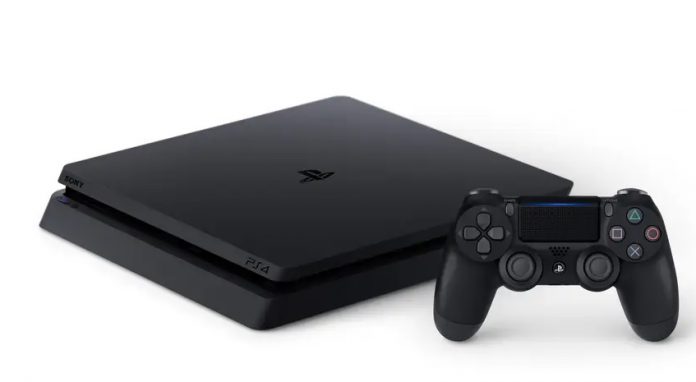
If you’re here, it’s most likely that a). You don’t know how to replace PS4 thermal paste b). How to properly do it.
But, don’t worry… we have got you covered.
Since PS4 generates a great deal of heat, it has other components such as heat sink, air or liquid coolant to lower down the heat, but the thermal paste is part of the equation — and often the most overlooked one as well.
Replacing the thermal paste works better to fight to overheat.
Best thermal paste for PS4 (Recommended Ones)
Before diving in, our team went out to find the best thermal paste for PS4 so that you don’t have to scratch your head when buying one.
The below ones are considered to be the best thermal paste for PS4 and the most used ones in the market.
1). Thermal Grizzly Kryonaut
As compared to others, this one is an expensive one, but the performance is up-to-par — the price is a tradeoff. It doesn’t have any conductive power or any settling time requirement, which makes it ideal thermal paste alongside being the easiest to apply/use. Comparatively, it has 3-4 percent better temperature cooling abilities.
2). Arctic Silver 5
It has a unique dense filling of micronized silver, consisting of improved thermally conductive ceramic particles, making it more stable in performance. Also, it works better with high-power CPUs and high-performance water-cooling solutions or heatsinks.
3). Noctua NT-H1
It keeps down the PS4’s CPU temperature by 2 degrees and has no settling time requirements. Also, the only tradeoff for some people could be that it has less paste as compared to other thermal pastes, which is why its price is low.
4). Arctic MX-4
The Arctic MX-4 is the most popular one in the market. It is due to its cheap price and the syringe design. Another thing is that it doesn’t depend on any sort of metal so it is not electrically conductive. Also, it doesn’t require any settling time so as soon as you put it on the PS4 CPU, you can place the cooler right away.
Replacing the Thermal Paste
Step #1 — Remove the components
Simply take out the panel that is right next to the ports… you can slide it to the right to remove it.
Next, locate the plastic warranty sticker on the side of the console — it will be near the three ports.
- Peel off the Warranty Sticker & remove the screw with a T9 Torx screwdriver
- Remove the remaining screws on the bottom on the console
- Remove the cover by sliding it back
- Flip the PS4 and lift the black clip on the largest connection on the metal panelling to remove it
- Remove the Hard drive by unscrewing and then sliding it outside
- Remove all the wires, screws, connections and the power supply — you’ll have access to the motherboard
Step #2 — Removing the Motherboard
Before removing the motherboard, make sure to pull out the small wire on the side of the motherboard…
After that, you can easily lift up the motherboard and put it on the side.
When you lift up the motherboard, you will see there will be a plastic like substance on the processor, which is the thermal paste — and for which we are here to replace.
Step #3 — Using a Thermal Paste Remover
The thermal paste remover is a good option to wipe off the unwanted junk…
Make sure to not trust the myth by others who use other unnecessary stuff to remove the thermal plastic as you can significantly damage your motherboard.
Put some droplets of the thermal paste remover on the CPU and the heat sink and leave it for like 20-30 seconds and you are good to go to clean it with a microfiber cloth.
Importance Note: make sure that no residue of the old paste is left…
Step #4 — Applying the Thermal Paste
Finally, we are here to achieve what we have been struggling for.
Take your *thermal paste* and gently put around 3/4 of an inch of it on the CPU and that’s it.
But make sure to let the thermal paste rest for around 10 minutes before reassembling.
Step # 5 — Reassemble
Just read this guide from bottom to top and you will be able to get your PS4 going…
Conclusion
Just a quick reminder: clean the CPU surface properly so that all of the sides are cleaned and no old thermal paste is left… Furthermore, properly put the thermal paste on the CPU so that it doesn’t go off track.
If you have any questions, you can ask in the comment section and our experts will assist you right away.